|
The Versions tab is only displayed when media versioning is enabled in Project Preferences. See Configure Media Versioning for more information.
| 1. | On the Versions tab, click the download icon next to the desired media version to download the media asset. Alternatively, you may right-click the download icon and select the Save Link As option from the drop-down menu. |
| 2. | Click the preview icon to view the media asset. |
| 3. | Click the usage icon to open the Locate Media tab and view where this version of the media asset is used. Note: When there is an issue finding the location of a media asset within the library, the Validate Locations button allows you to search further, or to find other possible locations for the media asset. See Locate Media for more information. |
| 4. | Click the delete icon to remove the version of the media asset. Note: Media assets can only be deleted when they are not in use in activities or set as masters. |
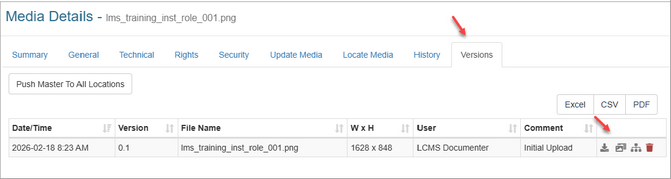
| 5. | Click the Push Master To All Locations button to open the Push Master To All Locations window. |
| 6. | On the Push Master To All Locations window, click the Submit button to update all previous versions of the media asset with the selected version or click the Cancel button to return to the previous screen. Only unlocked activities with the previously selected activity production status(es) will be updated. Note: The activity production status(es) were previously selected in the Application Preferences or Project Preferences Versioning tab. |
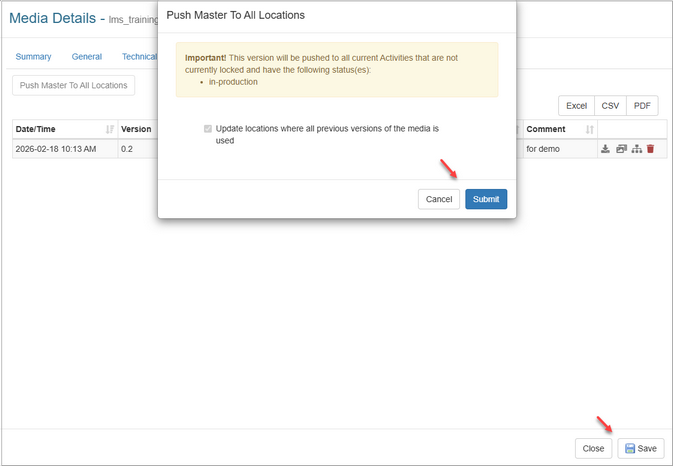
| 7. | On the Versions tab, click the Save button to save the changes or click the Close button to return to the previous screen. Note: When an existing media asset is updated, all versions of the media asset will display on the Versions tab. |
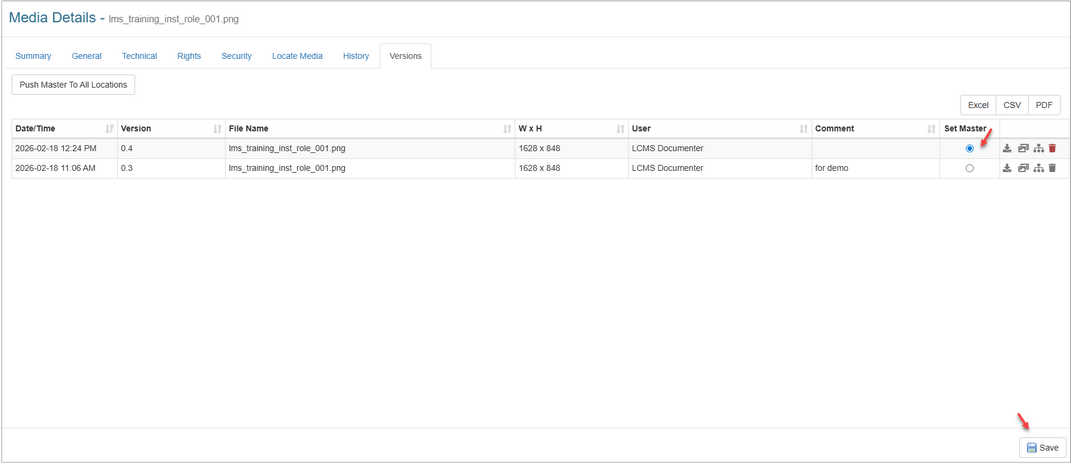
| 8. | Click the radio button next to the desired media asset to set it as the master. Master media assets cannot be deleted. Note: Only master versions of the media asset will display in the Media Library search results. |
| 9. | Click the Save button to save the change. |
|