|
The image button allows the user to insert inline images. If you use the image button from inside the Media Description, it is associated with the Reference Media Library, which contains images used as draft or reference content, visible to reviewers alongside other media description information but not intended for inclusion in the final packaged version of the activity. However, elsewhere, this button accesses the main Media Library. See the section on Managing Media Files for more information on the Media Library.
| 1. | In the HTML editor, click the Image button on the toolbar. |
| 2. | You will see the Image Properties pop-up. Click the Browse Server button. You will be taken to the Media Library from which you can search for and select an image. Note: If you are editing the Media Description field, you will be taken to the Reference Media Only library. You can upload new images here or select existing images from the repository. Images uploaded to the main Media Library will not be visible here, and vice versa. |
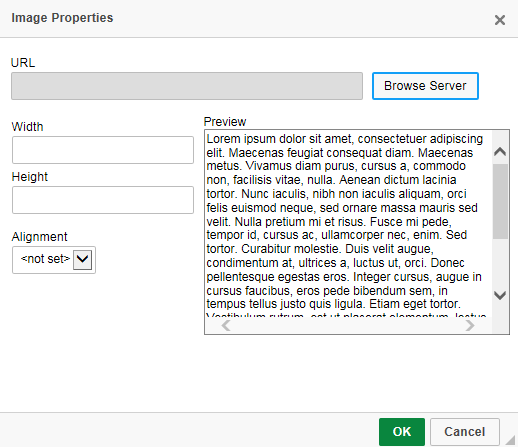
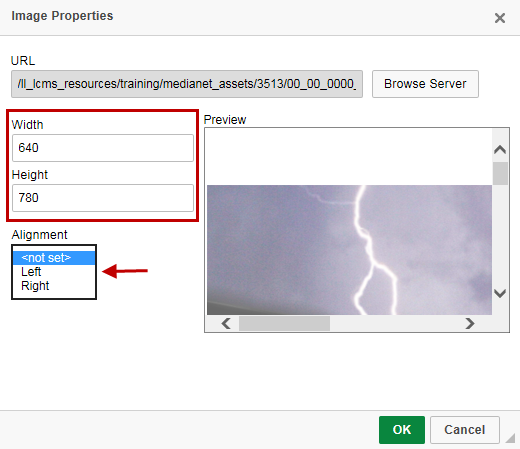
| 3. | Once you have selected a reference image from the library, you will return to the Image Properties window. You will now see the chosen image in the Preview window. Here you can set the Alignment, Width and Height to make it fit better alongside the text, if any. Note: The Width and Height fields are locked to each other to maintain the image proportions, so changing one will change the value in the other field automatically. |
| 4. | Click OK to insert the image inline in the HTML or Cancel to exit without saving. |
Note: Images inserted in the Media Description field will be visible anywhere the Media Description is displayed, including in previews where no final graphic is available, and in Storyboard and Lesson Outline views.
Note: It is also possible to attach hyperlinks to inline images, including links to modal pop-up windows.
|