|
To configure the general settings:
| 1. | On the LCMS Home screen, click the Application Preferences link to open the Application Preferences screen. |
| 2. | On the General pane, the Detected URL field displays the current application URL. Note: There are times when the LCMS may not detect the application URL properly, especially when installed behind a load balancer. |
| 3. | Click the Always use https checkbox to enable the Always use https function if required. Note: Enabling this feature may be required to ensure the background features function properly. |
| 4. | Enter the desired email address in the Support E-Mail field. This email address displays on the LCMS Home page. Note: Leave this field blank to use the default email address. |
| 5. | Enter the desired email address in the E-Mail From Address field. This email address will display in the From field on system-generated emails such as user notifications and review reminders. Note: To test the configured email address, click the Test E-Mail Configuration button. Using the Test E-Mail Configuration window, the administrator can send a quick email test, and then download the email log file to see if any issues are recorded. |
| 6. | Enter the desired location for the wkhtmltopdf tool in the wk<html>TOpdf field. Note: To render HTML into PDF, the LCMS uses wkhtmltopdf, which is an open source (LGPLv3) command line tool. This tool is installed during the installation. The default location where the tool installs is C:\Program Files\. To change the location, enter the desired path (actual location) in the wk<html>TOpdf field. Ensure the path name ends with a back slash (\) (i.e., C:\NewPath\). |
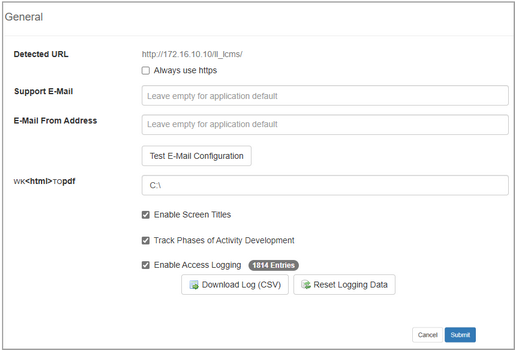
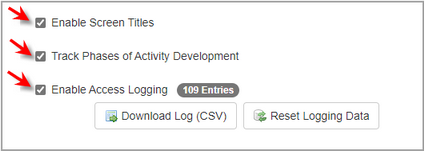
| 7. | Click the Enable Screen Titles checkbox to toggle screen titles on or off. By enabling screen titles, an extra input field displays on the various screen style input screens. The screen title will display when viewing the Topic Screen listing. It is currently not displayed via the interfaces. |
| 8. | Click the Track Phases of Activity Development checkbox to enable users to set development phases for activities (i.e. Lesson Outline, Storyboard, Lesson, etc.). |
| 9. | Click the Enable Access Logging checkbox to enable tracking of user access to the LCMS. The Access Log Report button will be available on the User Management screen when this checkbox is selected. Administrators may download the current access log in a CSV format by clicking the Download Log (CSV) button. They may also reset the logging data by clicking the Reset Logging Data button. |
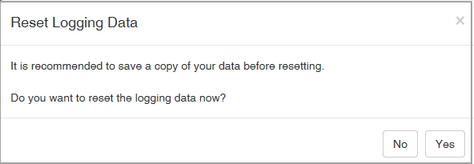
| 10. | When the Reset Logging Data button is clicked, the Reset Logging Data window opens. |
| 11. | On the Reset Logging Data window, click the Yes button to reset the logging data or click the No button to return to the General tab screen. |
| 12. | On the General pane, click the  button to save the changes or click the button to save the changes or click the  button to return to the previous screen without saving. button to return to the previous screen without saving. |
|