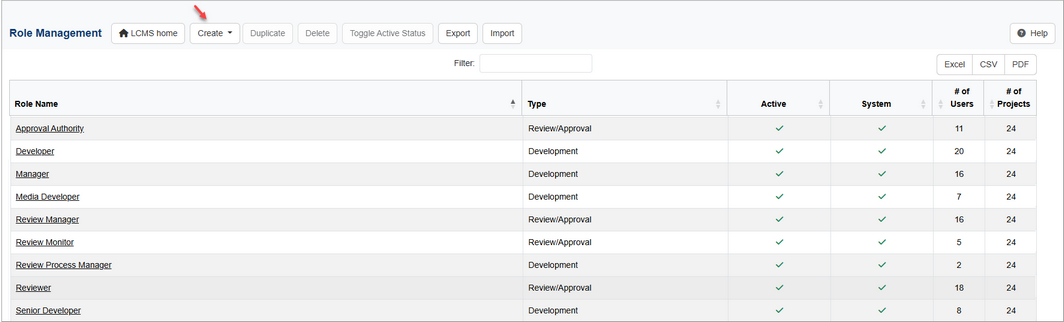
| 1. | On the LCMS Home screen, click the Role Management link to open the Role Management screen. |
| 2. | On the Role Management screen, select the desired role to create from the Create drop-down menu. Note: Selecting the desired role will open the Permission Matrix screen. |
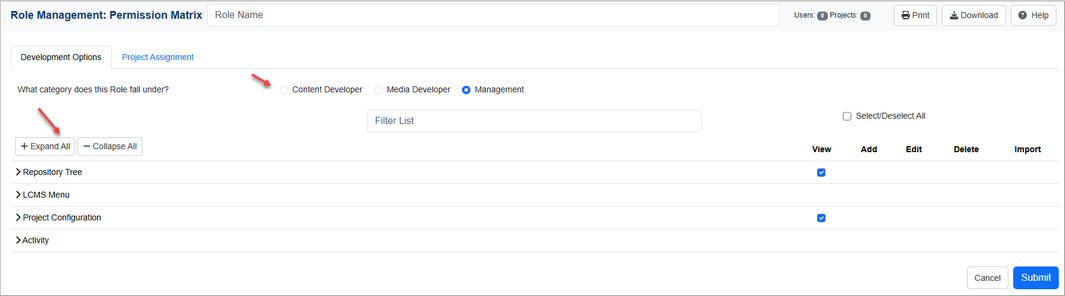
| 3. | On the Permission Matrix screen, enter the desired name for the role being created in the Role Name field. |

| 4. | On the Permission Options pane, click the desired category for the role being created, if required in the What category does this Role fall under? field. The category entered in this field is used to support core functionality for the newly created role (i.e. should the role be a content developer role, a media developer role or a management role?). Note: The Review/Approval type role will have review related categories to select. The What category does this Role fall under? field is not available for the Administrative type role because they will have access to all projects. |
| 5. | Select/deselect the desired permissions for the new role as required. The Administrative type role, development type role and review/approval type role will all have different sets of permissions to select or deselect. You may filter the list if required, or use the Expand All and Collapse All buttons. |
| 6. | On the Project Assignment pane, select the desired project(s) for the new role. Ctrl+click to select multiple projects for the new role. The number of Projects the role is assigned displays in the Projects field at the top of the screen. The Project Assignment tab is not available for the Administrative type role. Note: The number of users the new role is assigned will be zero in the Users field until users are assigned the role. |
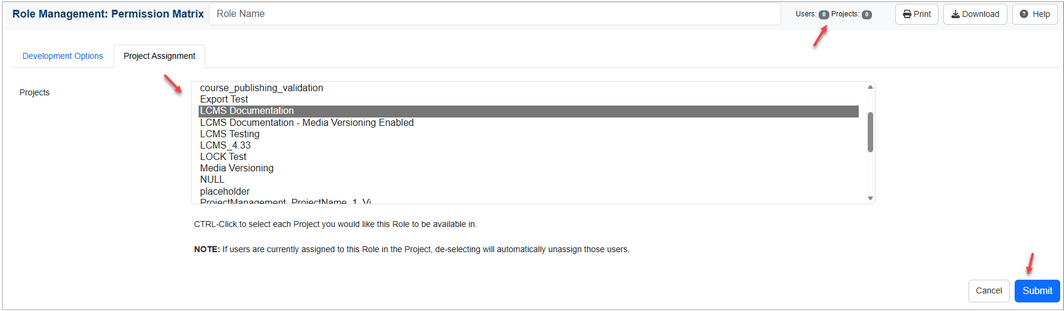
| 7. | Click the Submit button to save the changes or click the Cancel button to return to the previous screen without saving. Note: The newly created role will remain inactive until it is toggled to the active status. See Toggle Active Status for more information. |
|


