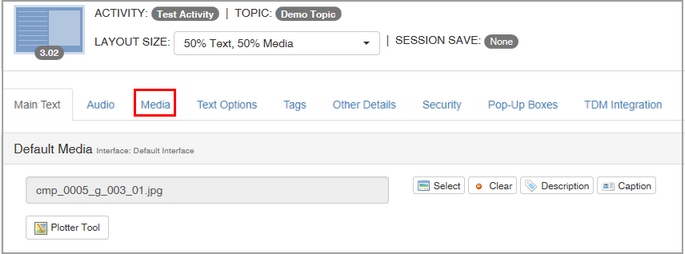
| Media (Tab) |
|
|
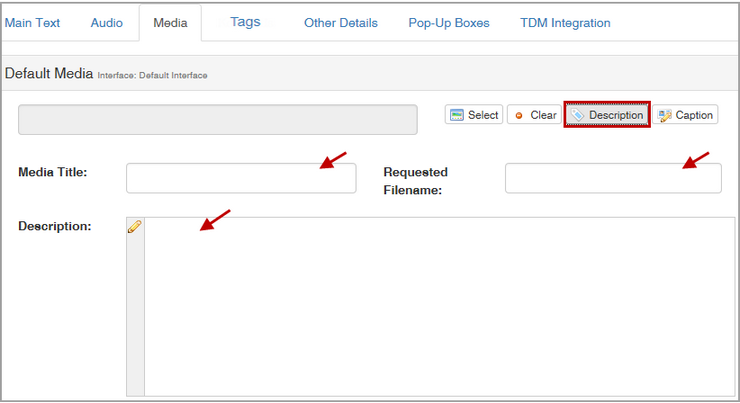
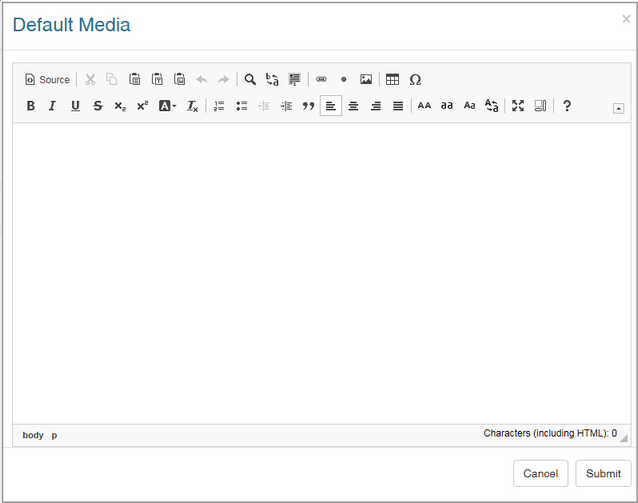
Graphics can be added to both instruction and question screens, depending on the Screen Style. See the sections titled Question Screen Styles and Instruction Screen Styles for more information. Note: Graphics can also be added inline using the CKEditor toolbar buttons in most HTML fields. If you use the image button from inside the Media Description, it is associated with the Reference Media Library, which contains images used as draft or reference content, visible to reviewers alongside other media description information but not intended for inclusion in the final packaged version of the activity. However, elsewhere, this button accesses the main Media Library. If you are editing the Media Description field, you will be taken to the Reference Media Only library. You can upload new images here or select existing images from the repository. Images uploaded to the main Media Library will not be visible here, and vice versa. See the section on Managing Media Files for more information on the Media Library. Note: The number of fields in the Media tab will depend on the screen style selected. For example, the 2.52 Multiple-Choice question style requires the use of three graphics, while you can include up to nine graphic thumbnails and a default graphic for the 4.55 Drag and Drop question style. To add graphic files:
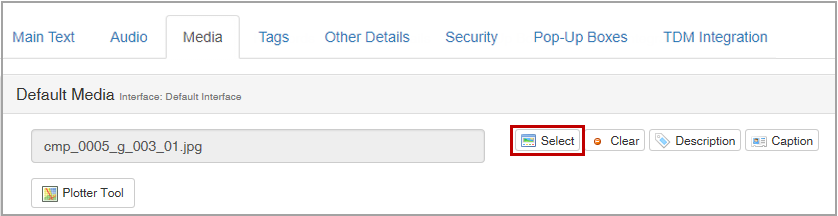
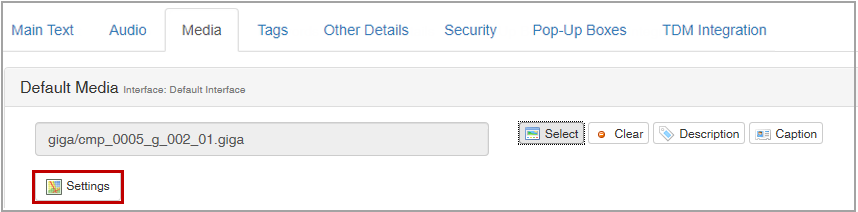
Note: When a Giga Image Viewer, Modest Tree or Zoomify file is selected from the Media Library, a Settings button will be visible on the Media tab instead of the Plotter Tool, which is available with graphic file types (jpg, png and gif). Click Settings to display the settings screen and preview. Giga Image Viewer, Modest Tree 3D Explorer and Zoomify Settings are described in the following pages, along with the Plotter Tool.
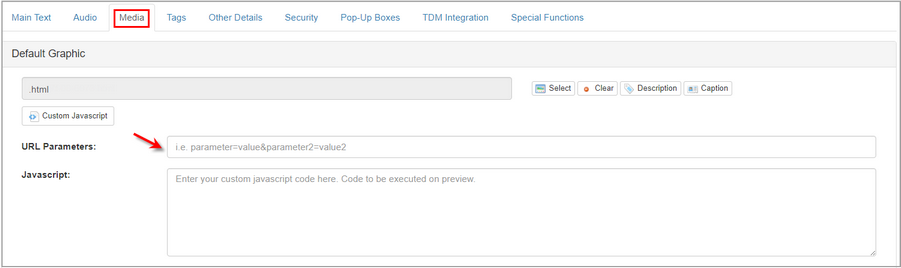
Note: When an HTML file is selected from the Media Library, you will have the ability to enter Javascript and set a default state. Click the Custom Javascript button to open this field. Select an option from the Default State drop-down menu to set the default state. A hyperlink can be added in the to display the media at a different state (see Hyperlink to HTML Graphic). HTML and HML files will also have a URL Parameters field display. URL Parameters are media specific. Enter the desired URL parameter in the URL Parameters field. If multiple parameters are required separate them by an "&".
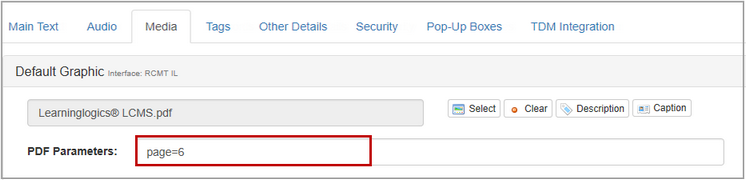
Note: When a PDF file is selected from the Media Library, parameters can be set using the PDF Parameters field. For example, you may specify a named destination in the PDF or a numbered page:
|