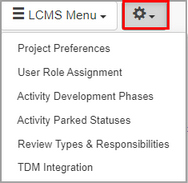
| 1. | On the Configuration and Preferences (sprocket), click the down arrow to open the menu. Note: The Multilingual Support feature may also be enabled from Project Management on the LCMS Home screen. See Project Management Preferences Tab for more information. |
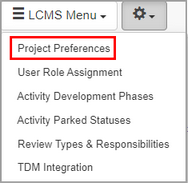
| 2. | Select Project Preferences from the menu to open the Project Preferences screen. |
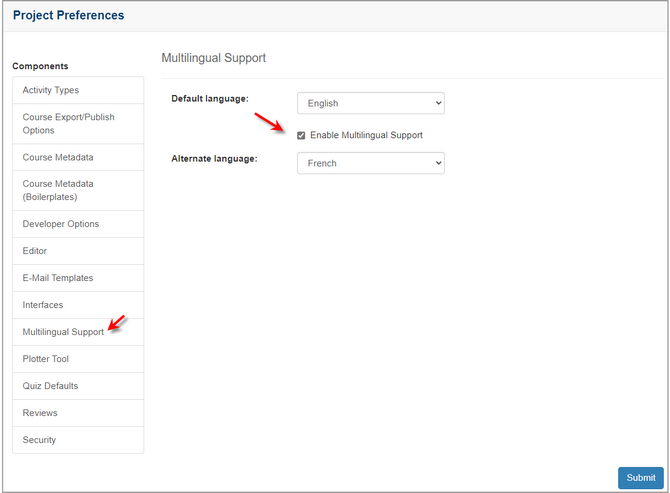
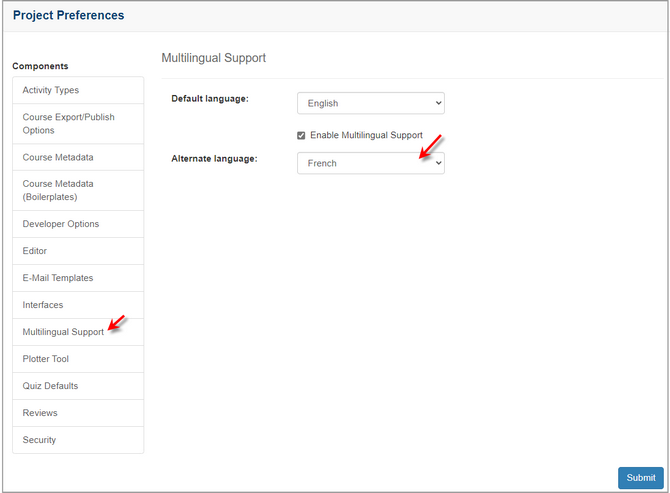
| 3. | On the Project Preferences screen, click Multilingual Support from the Components menu. |
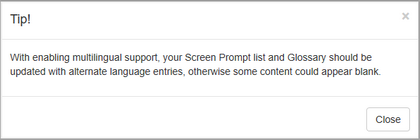
| 4. | On the Multilingual Support pane, click the Enable Multilingual Support checkbox to enable the feature, and then read the tip in the Tip window. Note: Update the Screen Prompt list and Glossary if required. See Screen Prompts and Glossary for more information. |
| 5. | On the Tip window, click the Close button or the X to return to the previous pane. Note: Some content may be blank if the screen prompts and glossary are not updated. |
| 6. | On the Multilingual Support pane, select the alternate language from the Alternate language drop-down menu. |
| 7. | Click the Submit button to save the selections. |
Enabling multilingual support will turn on such features as:
| • | Alternate language input fields for Screen Prompts and Glossary |
| • | Identification of screens in the Question Bank as being one language or the other, as well as being able to match up related screens indicating if an activity is based on the default or alternate language |
| • | Exporting activities for translation |
| • | Importing translated activities |
Typical Work Flow (using a translation service)
Once all existing content has been approved and finalized (recommended the activities be in a locked state to avoid accidental modification):
| • | Export all necessary content from the LCMS to various formats (xml & html) that can be sent off to a translation service (Activities, Glossary, Screen Prompts and Question Bank) |
| • | Copy and paste activities (with Make this copy a French {alternate language} version of the selected activity option checked) into desired folders |
| • | "Add to Batch for Translation" on the folders containing the alternate language activities |
| • | Submit Translation Batch |
| • | Collect all exported files and send to service for translation. |
At this point, it would be a good idea to ask your IT department to back up your LCMS database for this project. The database name can be found by looking at the LCMS Home screen. The database name will be prefixed with "ll_lcms_" and the code displayed next to your project name.
Upon return of translated files, repeat the reverse of the process and import the files for Glossary, Screen Prompts, Question Bank and Activities (Additional Options > Import Translated HTML or LCMS Menu > Translation Batch Import).
|