|
To enter an inline image in a Main Text, Instructor Notes, or Review Instructions field:
| 1. | Click the desired tab to access the corresponding text field. |
| 2. | Click the pencil icon or the text field itself to open the HTML editor. Note: The Main Text field is depicted in this topic. |

| 3. | On the HTML editor window, place the cursor where the image is to be inserted. |
| 4. | On the toolbar, click the Image button. |

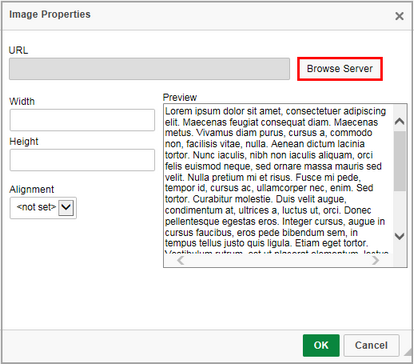
| 5. | On the Image Properties window, click the Browse Server button to open the Media Library. |

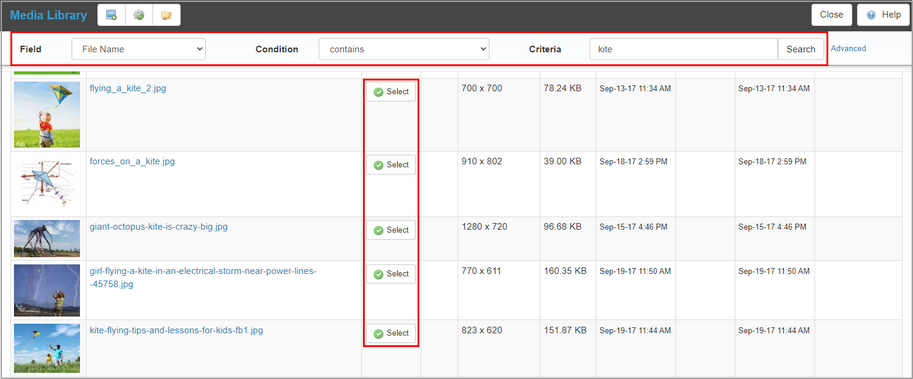
| 6. | In the Media Library, search for the desired image by using one of the search functions, and then click the Search button. See Search Media Library for more information. |
| 7. | Select the desired image from the list by clicking the corresponding Select button. |

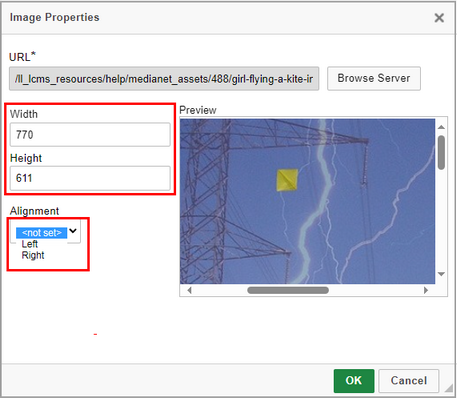
| 8. | When the image is selected from the Media Library, you will return to the Image Properties window. You will now see the chosen image in the Preview window. Here you can set the Alignment, Width and Height to make it fit better with the text, if required. Note: The Width and Height fields are locked to each other to maintain the image proportions, so changing one will change the value in the other field automatically. |

| 9. | Click the OK button to save the desired image properties and return to the HTML editor window or click the Cancel button to return to the HTML editor window without saving. |
| 10. | On the HTML editor window, click the Submit button to save the inline image and return to the text field or click the Cancel button to return to the text field without saving. Note: It is also possible to attach hyperlinks to inline images, including links to pop-up windows. See Add Hyperlink for more information. |
|