| 1. | Click on the Hotspot Editor button in the Giga Image Viewer Settings to open the Hotspot Editor screen in a new pop-up window. |
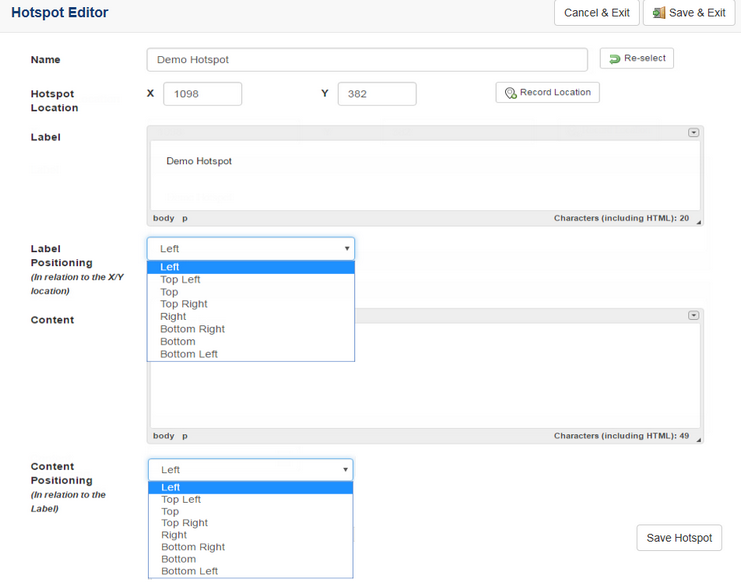
| 2. | Enter the name of a new hotspot in the Name field or select an existing one from the drop-down menu, if available. |
| 3. | Set the Hotspot Location by clicking the Record Location button and then panning and zooming to the required location in the Giga Image Viewer Settings window. Click where you want the hotspot to appear and the X and Y fields will automatically be populated with the coordinates. Click Stop Recording when you have the correct coordinates. Note: Although you can type in X and Y values manually it's unlikely you'd ever want to do this. |
| 4. | Enter the title you want to appear at the hotspot using the Label field. |
| 5. | Select the position of the Label of the hotspot (left, right, top, bottom, etc.) using the Label Positioning drop-down menu. Note: The default is left. |
| 6. | Enter any content you want to appear at the hotspot using the Content field. Note: As this field uses the HTML editor, you can embed an image, which will be displayed within the Giga Image Viewer. |
| 7. | Select the position of the content relative to the Label of the hotspot (left, right, top, bottom, etc.) using the Content Positioning drop-down menu. |
| 8. | Click Save Hotspot to save the hotspot or Remove Hotspot to delete it, or quit without saving. |
|