|
This feature is used within Course Designer to create an offline package as a .zip file for a course that will run outside of the LMS. It shows the tree structure and allows a user to launch and view a course. Since it is outside of the LMS, there are no tracking capabilities.
To create the offline package within Course Designer:
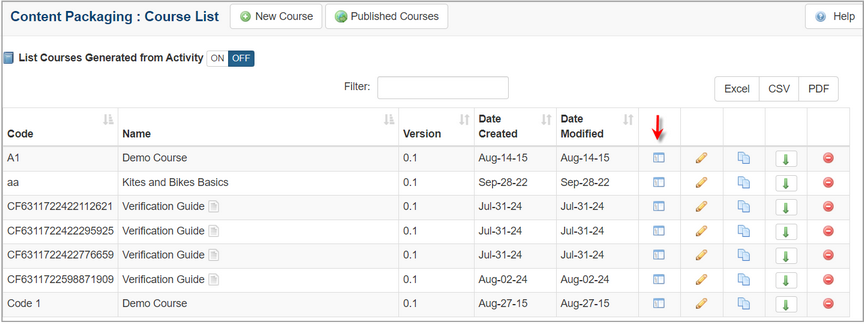
| 1. | On the Content Packaging: Course List, click the Course Designer icon for the desired course or activity to open the Course Designer screen. Note: If the requirements are the same for all (or the majority) of activities in the course, select the course and then click the Course Designer icon. If the requirements must be customized for an individual activity, select the activity and then click the Course Designer icon. |
| 2. | On the Course Designer screen, click the Publish tab to open the Publish pane. |
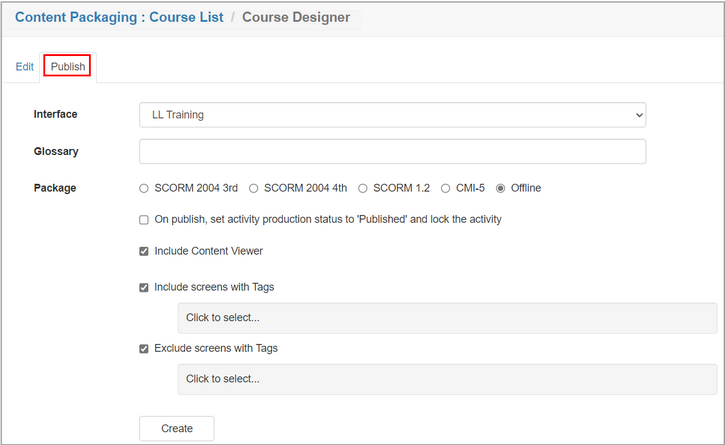
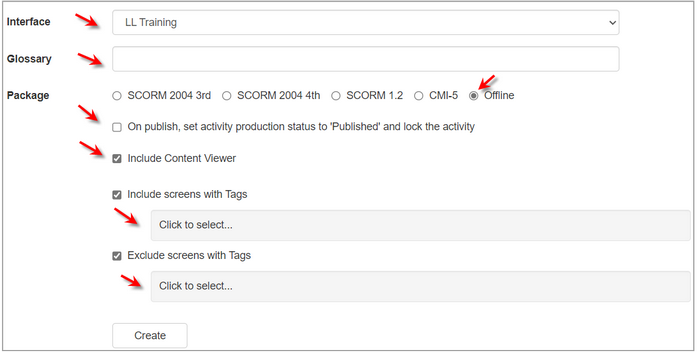
| 3. | On the Publish pane, select the desired interface for the course or activity from the Interface drop-down menu. |
| 4. | Select the desired glossary for the course or activity from the Glossary drop-down menu. |
| 5. | Select the Offline radio button from the Package field. |
| 6. | Click the On publish, set activity production status to Published and lock the activity checkbox, if required. |
| 7. | Click the Include Alternate Language checkbox, if required. Note: Multilingual Supports must be enabled in Project Preferences for this checkbox to display. See Multilingual Support Tab for more information. |
| 8. | Click the Include Content Viewer checkbox to include the content viewer, if required. |
| 9. | Click the Include screens with Tags checkbox, choose the tags from the Select Tags window and then click the Submit button (if required). See Tags/Categories (Tab) for more information. |
| 10. | Click the Exclude screens with Tags checkbox, choose the tags from the Select Tags window and then click the Submit button (if required). |
| 11. | Click the Create button to create the Offline package. |
| 12. | Click the Download button to download the Offline package and save it in the desired location. Note: When the file is downloaded it is available to run from the downloaded location. |

|