|
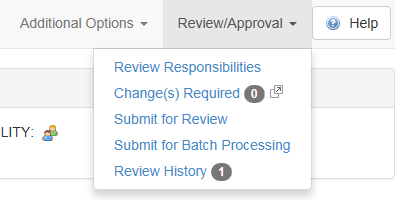
Once an Activity has been marked as ready for approval by the Review Manager, the option to Submit for Review will be replaced with Submit for Approval in the Review/Approval menu, available to Admins, Managers and Developers.
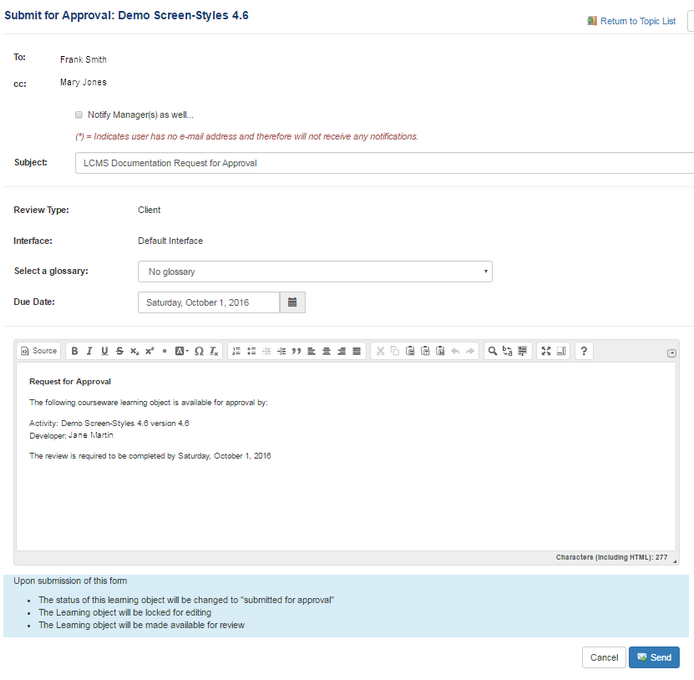
| 1. | Click the Submit for Approval option in the Review/Approval menu. The Submit for Approval screen will be displayed. Note: This is similar to the Submit for Review screen. |
| 2. | Complete the relevant fields. Click the checkbox labeled Notify Manager(s) as well, if you want a notification email to be sent to all Managers assigned to the project. |
| 3. | Modify the Subject line of the notification email, if required. |
| 4. | Select the Glossary to use. Note: The Interface field will be set to the one used in the preceding review process. |
| 5. | Set the Due Date using the calendar input. |
| 6. | Modify the body of the email notification, if required. |
| 7. | Click the Send button to send the Activity to the Approval Authority for approval. |
|