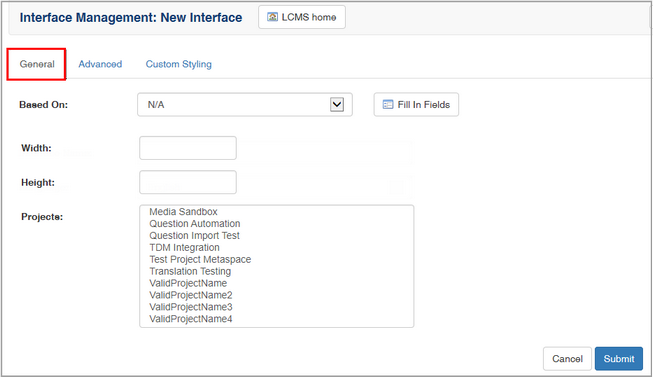
| 1. | On the General tab, enter the required information in each fields or select an existing interface from the Based On drop-down menu, and click the Fill in Fields button to copy its default values. |
| 2. | Enter the desired title for the new interface in the Interface Name field. |
| 3. | Enter the desired initial width and height values (pixels) for the interface in the Width and Height fields. The default values are 1904 (W) and 950 (H). |
| 4. | Select the desired projects for the interface from the Projects selection box. When selected, the projects will have the interface available for selection. Multiple interfaces may be available for the project. |

| 5. | Click the Submit button to save or click the Advanced tab to continue configuring the interface. See Advanced Tab for more information. Note: When the new interface is created, the window will reload to display the Pop-out Content Buttons and Custom Logic tabs. See Pop-out Content Buttons Tab and Custom Logic Tab for more information. |

|