Thumbnail
|
Description
|

|
3.20 Grid Layout. Displays multiple text and/or media (png, jpg, gif, mp4, HTML, pdf and Zoomify) blocks in a grid (columns and rows format). Text and media may be aligned horizontally left, right or center) and vertically (top, middle and bottom). Rows and columns can be added, copied or removed. Note: This screen-style is not compatible with IE11.
|
The Grid layout screen style allows the developer to present main text with text or media blocks in a grid (columns and rows) format. User clicks each grid to reveal new text or media.
| 1. | This screen has a Grid tab that contains the Add Column and Add Row buttons to create the grid. The columns and rows can be collapsed, expanded and resized as required. They can also be reordered using the drag-handles (top-left of field). |
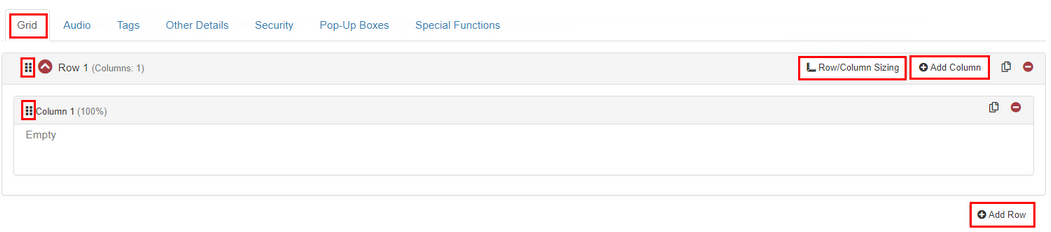
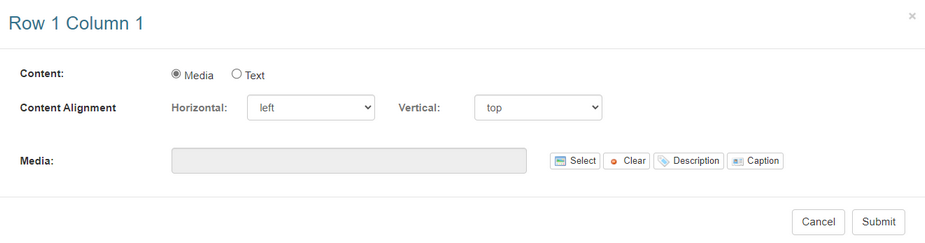
| 2. | Click the empty grid and select the Media or Text radio button in the Content field. If Media is selected, only media will display. The media fields function in the same way as the Media fields in the basic screen styles described earlier. Note: The Plotter Tool is also available for use with each Media field. See The Plotter Tool for more information. If Text is selected, only text will display. HTML tags can be inserted into the Text field to format text. The media or text content can be aligned horizontally (left, right or center). The content can also be aligned vertically (top, bottom or middle). |
| 3. | Click the Submit button to save the changes. |
| 4. | To copy a row below an existing row, click the Copy Row icon for the desired row and then the Paste Row button. |
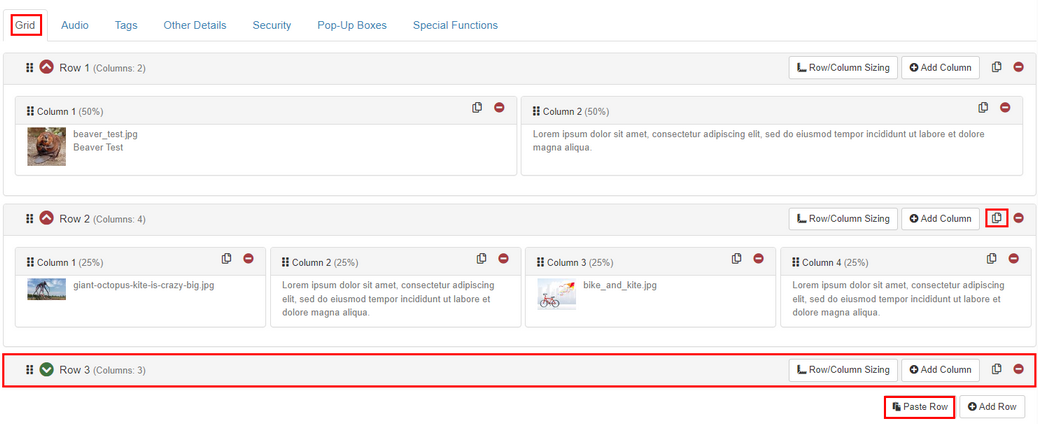
| 5. | To copy a column beside an existing column, click the desired Copy Column icon and then click the Paste Column button. Note: If multiple columns exist, the new column will display to the right of the existing columns. |

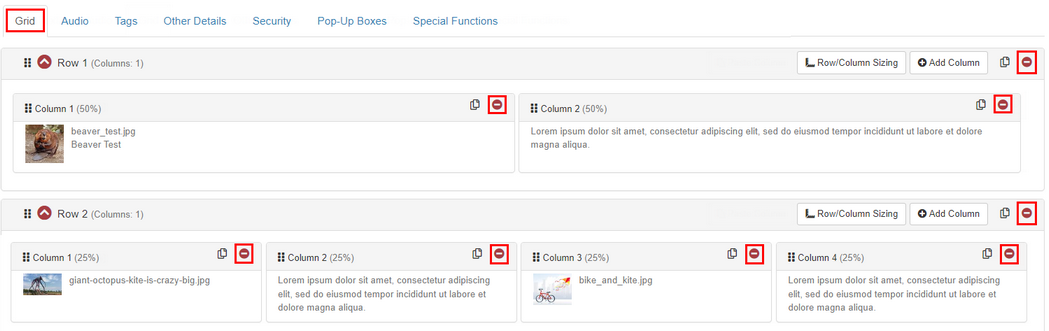
| 6. | To delete a column or row, click the corresponding Delete icon. |
| 7. | To resize the row or column, click the Row/Column Sizing button to open the Row/Column Sizing window. Enter the desired dimension in the Row Height and Column field(s) or leave the fields empty. Note: You may enter a percentage or pixels in these fields. By default the columns will distribute evenly up to 100% (i.e. If there are 2 columns, each column will take up 50% of the screen). When these fields are left empty, the viewer will evenly distribute the rows and columns. |
|