|
Pop-ups can contain text and/or media. In addition to normal graphic files, pop-ups can also include Animate (HTML) files, Unity 3D files, audio/video (mp3/mp4) files and pdf files.
Note: Once a pop-up is created, you will need to create a hyperlink to it from the Main Text area. See Hyperlink to Pop-Up for more information.
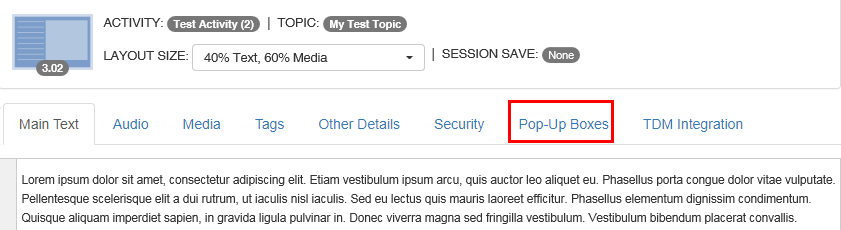
| 1. | Select the desired question/instruction screen. |
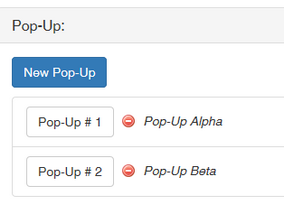
| 2. | Click the Pop-Up Boxes tab. |
| 3. | To add a new pop-up, click the New Pop-Up button. The Add Pop-Up window will appear, where you will specify the requirements for the pop-up box. |
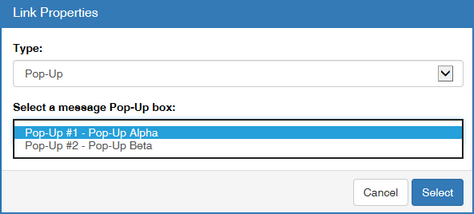
| 4. | Enter a Pop-Up Name, if required. This will appear beside the pop-up in the Pop-Up Boxes tab and in the Link Properties dialogue for easier identification. If you also wish to have this name as the pop-up window title, select the "Use Pop-Up Name As Window Title" checkbox. Note: The Pop-Up Name will only appear in the storyboard when this checkbox is selected. |
| 5. | Select either New Window for a browser pop-up that will open in a new window that can be resized and moved around, or Inline for a modal window, which cannot be resized or moved and will appear inside the current browser window. |
| 6. | Choose the layout for your pop-up. Choices include: Text Top - Media Bottom, Media Top - Text Bottom, Text Left - Media Right, Media Left - Text Right. The default layout is set to Media Top - Text Bottom. Note: If only Media or Text is being used, that content will fill the window. Note: When a video (mp4) media is chosen, the Autoplay and Loop options will display. Click Autoplay to enable the video to begin playing automatically. Click the Loop option to enable the video to loop when it has finished playing. |
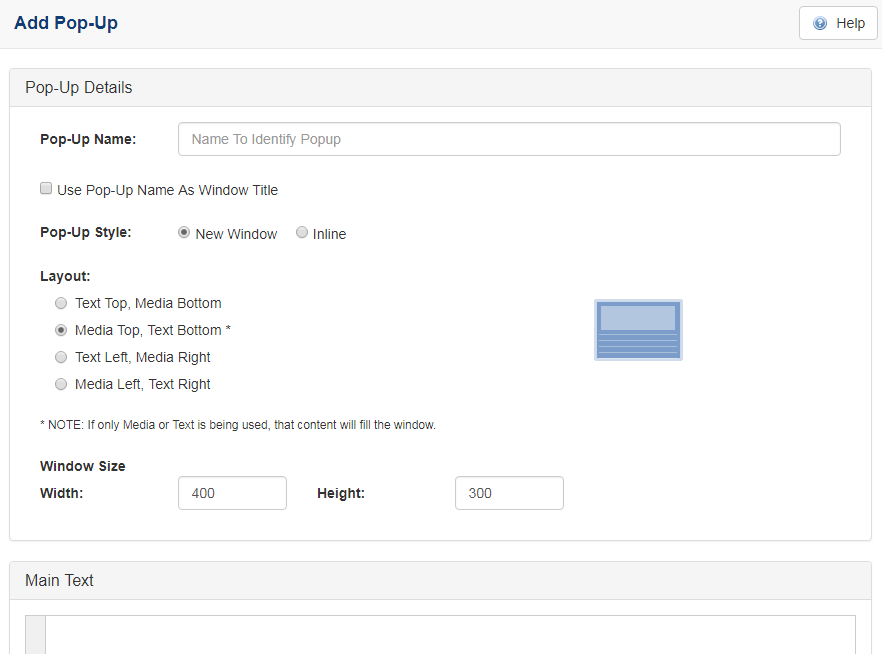
| 7. | Enter the text for the pop-up box in the Main Text field, which contains rich-text and a toolbar identical to the Main Text field of the main screen. |
| 8. | Type the window Width and Height in the corresponding fields. The size you choose is dependent on the interface features, the screen resolution for the design and the amount of content shown in the window. Note: If an Inline (modal) pop-up style is selected, these fields will appear under the media file name as Media Size. Aspect ratio of the image will be maintained. |
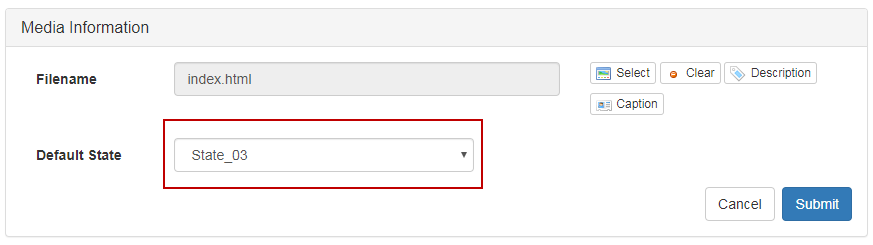
| 9. | If you wish to include media (graphic, Flash, Unity 3D, pdf or audio/video), either select a file from the Media Library or type the file name you want assigned to the file by the Multimedia Developer (for example, graphic_01.jpg) in the Requested Filename field. Note: For information on how to populate the media Filename field once the media is developed, see Media (Tab). |
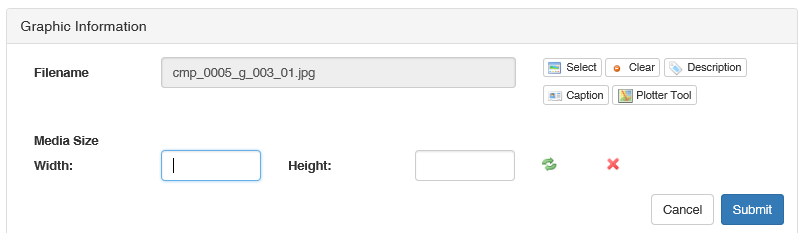
| 10. | Add a Media Title or a Caption, if required. Add a media description to the Description field. Like other media descriptions, this will be used to describe the media for review and development. Note: The Plotter Tool is available for use within pop-ups. See The Plotter Tool for more information. When a Unity file is selected the default state of the pop-up image can be selected from the Default State drop-down menu. |
| 11. | If you change the height or width of images used in inline pop-ups, they will update automatically to constrain proportions. To increase the values, click the Reset to original size icon (green arrows) first to retrieve the maximum size of the image. Click the Clear size icon to clear the Width and Height fields. The image will automatically resize. |
| 12. | Click in the Tags fields to open the Select Tags window. See Tags/Categories (Tab) for more information about selecting tags. |
| 13. | Click the Submit button to submit your pop-up information. Note: The Pop-Up Name(s), if available, will be displayed beside the pop-up number in the Pop-Up Boxes tab. |
The Pop-Up Name(s) will now be listed in the Link Properties window. See Hyperlink to Pop-Up for more information on how to link to pop-ups.
|