|
Administrators may customized or standardized application and/or project notices (i.e. Standard mandatory notices and consents). These notices are presented to users before access to the LCMS and/or project is granted.
To configure application and/or project notices:
| 1. | On the LCMS Home screen, click the Application Preferences link to open the Application Preferences screen. |
| 2. | On the Application Preferences screen, click the Notices tab from the Components menu to open the Notices pane. |
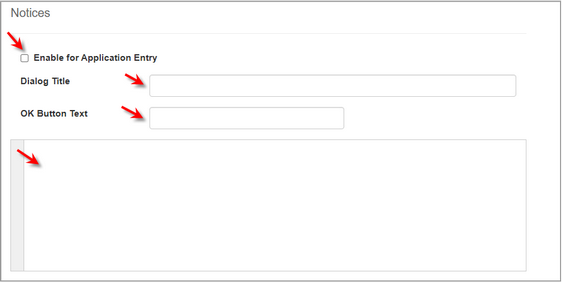
| 3. | On the Notices pane, click the Enable for Application Entry checkbox to enable this feature. Note: When this feature is enabled, the desired Application Notice will display on the login screen. Users will be required to consent/acknowledge the notice before entering their credentials. |
| 4. | Enter the desired title for the notice in the Dialog Title field. |
| 5. | Enter the desired text for the consent/acknowledge button in the OK Button Text field. |
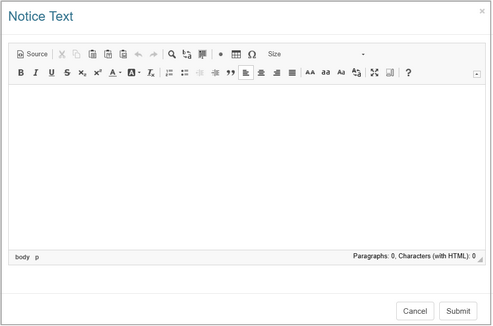
| 6. | On the text field, click the pencil icon or the text field to open the Notice Text window. See HTML Editor for more information. |
| 7. | On the Notice Text window, enter and format the desired text/content. |
| 8. | Click the Submit button to save the entry and return to the Notices pane or click the Cancel to return to the Notices pane. |
| 9. | On the Notices pane, click the Enable for Project Entry checkbox to enable this feature. When this feature is enabled, the desired Project Notice will display when the user selects the project from the Project list. Users will be required to consent/acknowledge the notice before entering the project. Note: This notice can be customized for each project using the Project Preferences Notices component. |
| 10. | Enter the desired title for the notice in the Dialog Title field. |
| 11. | Enter the desired text for the consent/acknowledge button in the OK Button Text field. |
| 12. | Enter the desired text for the decline consent button in the Cancel Button Text field. |
| 13. | On the text field, click the pencil icon or the text field to open the Notice Text window. |
| 14. | On the Notice Text window, enter and format the desired text/content. See HTML Editor for more information. |
| 15. | Click the Submit button to save the entry and return to the Notices pane or click the Cancel to return to the Notices pane. |
| 16. | On the Notices pane, click the  button to save the changes or click the button to save the changes or click the  button to return to the previous screen without saving. button to return to the previous screen without saving. |
|