|
The Plotter Tool allows you to draw highlights/hotspots as rectangles, circles, ellipses, polygons and lines (with or without arrows).
Note: When you open the Plotter Tool for the first time, the cursor is in Draw mode (cursor shows as a pen). If the cursor is showing as a hand, this means you are in Select mode and you need to click the Draw button to change modes. After you have drawn a shape, the mode changes automatically to Select. To draw another shape, click the Draw button again.
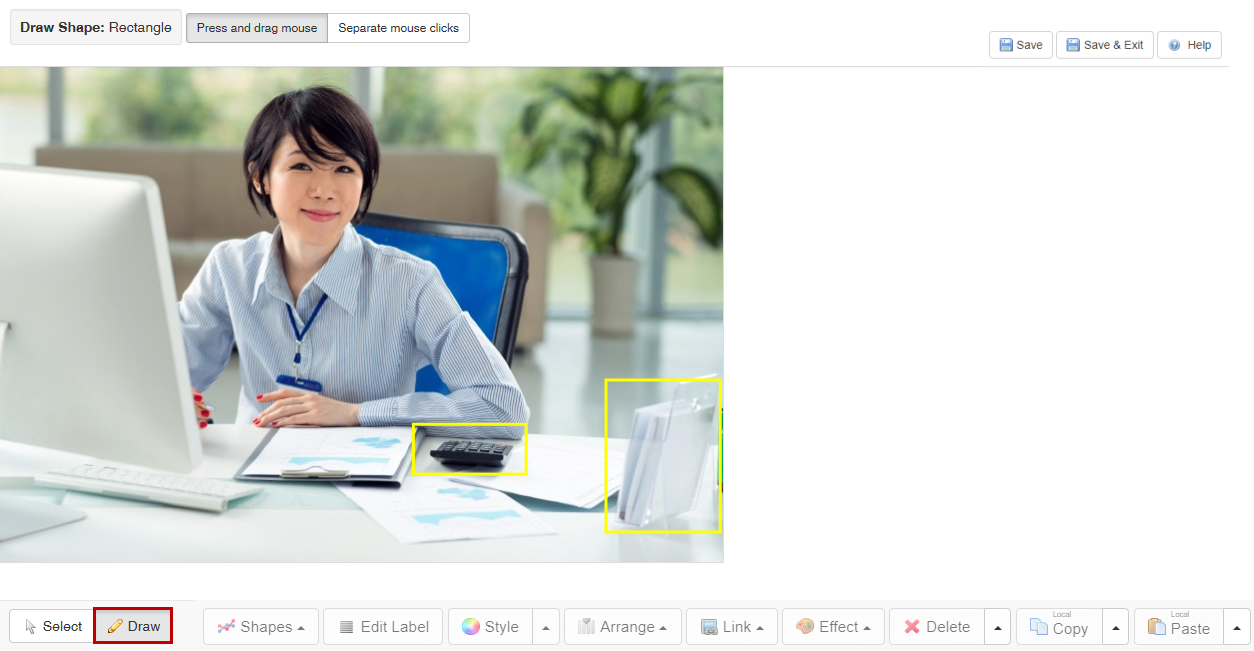
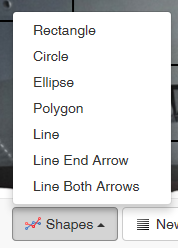
The default shape selection is set to Rectangle. To change this, click the Shapes button and choose the shape or line you wish to draw. The shape you select will be shown at the top of the screen. For example, Draw Shape: Polygon.
Before you begin to draw, you have the ability to set custom styling for the shape by clicking the Style button. The style you set will be applied to all of the shapes you add to the image. See Edit Highlights/Hotspots for more information on using the Shape Styles window. You also have the ability to customize the placement of the shapes. See Settings for more information.
When you are ready to draw a shape, select your preferred method from these two options (at the top of the window): Press and drag mouse or Separate mouse clicks.

| 1. | Press and drag mouse - To create the following shapes with this method, follow the instructions below: |
| • | Rectangle - Click once to plot one corner, move the mouse to plot the opposite corner, then release. |
| • | Circle - Click once to plot the centre, move the mouse to plot the circumference, then release. |
| • | Ellipse - Click once to plot the centre, move the mouse to plot the opposite side, then release. |
| • | Polygon - Cannot be drawn using this method. |
| • | Line - Click once to plot the start, move the mouse to plot the end, then release. |
| 2. | Separate mouse clicks - To create the following shapes with this method, follow the instructions below: |
| • | Rectangle - Click once to plot one corner, move the mouse to plot the opposite corner, then click again. |
| • | Circle - Click once to plot the centre, move the mouse to plot the circumference, then click again. |
| • | Ellipse - Click once to plot the centre, move the mouse to plot the opposite side, then click again. |
| • | Polygon - Click once to plot the first corner of the polygon, then again to plot the next, and so on for each point. Press the Enter key to complete the shape. |
| • | Line - Click once to plot the start, move the mouse to plot the end, and then click to complete the line. |
To copy and paste shapes, click the shape you wish to copy. Use the keyboard short cuts Ctrl+C (copy) and Ctrl+V (paste) or use the Copy and Paste buttons. Click the up arrow and choose Copy All Shapes, and then Paste All Shapes to copy and paste all the shapes.
Once created, you may rotate the shapes using the keyboard shortcuts Shift + ß to rotate counterclockwise and Shift + à to rotate clockwise. You may lock or constrain the direction a shape moves (horizontally or vertically) by holding Shift on the keyboard and using the mouse to drag the shape horizontally or vertically. The shape will only move along the X (horizontal) or Y (vertical) axis. Note: Releasing the Shift key will release the lock.
You may also move multiple shapes together by holding Ctrl on the keyboard and using the mouse to select, and then drag the desired shapes. Holding Shift + Ctrl and using the mouse to select, and then drag the desired shapes will lock or constrain the direction the shapes move (horizontally or vertically). Note: Releasing the Shift key will release the lock.
|