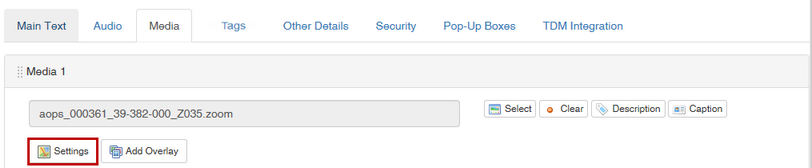
| 1. | On the Media tab, click the Settings button. |
| 2. | On the Settings screen, you may create and configure Zoomify states and labels. See States and Annotations Panel for more information. You may also show or hide the Annotations panel. |
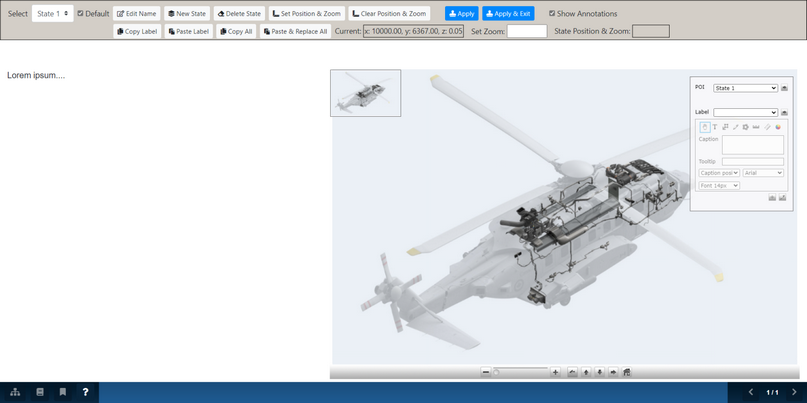
Zoomify is an optional feature. For more information, please contact learninglogics-support@bluedrop.com.
|